Why Your Phone Battery Drains Faster in Cold Weather
Cold slows the chemistry inside lithium-ion cells, so your phone misreads its own charge and shuts down...

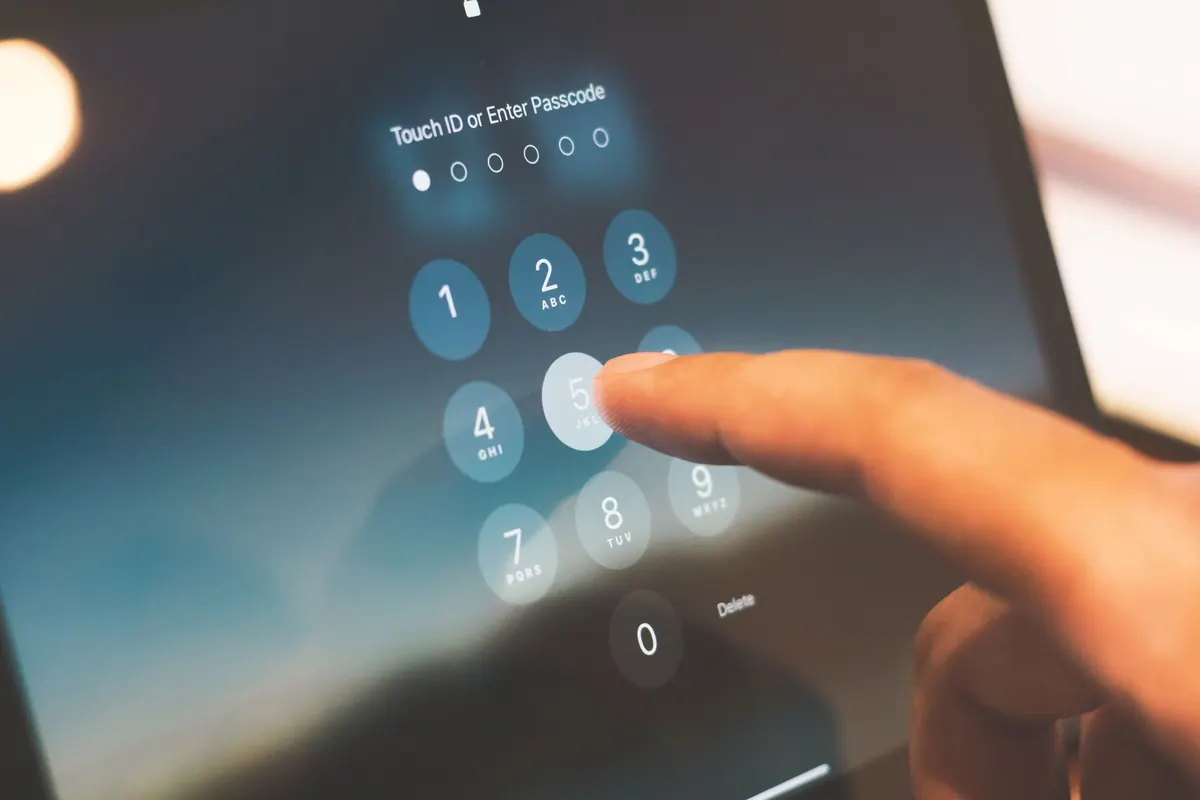
Most people don't skip password managers because they're careless. They skip them because of one quiet worry: what happens if I forget the master password and lose access to everything? That worry deserves respect, but it's solvable. Setup takes minutes, and the recovery planning that makes a manager safe takes about twenty.
Think of it as an encrypted filing cabinet with a very good lock. You remember one password — the master password — and the manager remembers the rest. When you reach a login page, it fills in your details. When you sign up somewhere new, it offers to generate a long random password and saves it without you writing anything down.
It helps to be clear about the boundaries:
Reputable services encrypt your vault on your own device before it reaches their servers. The company stores scrambled data it can't read, and your master password is the only thing that opens it. That explains why recovery has to be planned rather than improvised.
These install on your phone and computer, stay in step automatically, and come with browser extensions. Bitwarden, 1Password and Dashlane are common choices. For most people this is the easiest starting point, because the syncing happens without you thinking about it.
KeePassXC and similar tools keep the encrypted file on your own machine. You control the backups, which some people prefer, but keeping your phone and laptop in sync becomes your job. A good fit if you enjoy that level of control; frustrating if you don't.
Chrome, Safari, Firefox and Edge all offer to save passwords. That's better than using the same password everywhere, and it costs nothing to try. The trade-off is fewer features and a weaker recovery story: if you lose access to the browser account, getting the vault back can be painful.
If you're unsure, start with a free tier of a dedicated manager. Most tools let you export your data later, so the decision isn't permanent.
That last step matters more than it sounds. Until you've watched autofill work on a site you use daily, you won't quite trust the tool — and trust is what makes you keep using it.
Since this one password guards everything else, make it long and make it memorable. A passphrase is the simplest reliable method: four or five unrelated words strung together, like harbor-otter-cable-fern-nine. Long enough to resist guessing, strange enough to stick after a few days of typing it.
Avoid the usual traps. Don't reuse a password you already use elsewhere. Don't rely on one dictionary word with digits swapped in. And don't keep it in a note on the same phone that holds the vault.
For the first month or two, write the master password on paper and keep it somewhere physically secure — a locked drawer, a safe, a folder you'd notice. Once you've typed it daily for a few weeks, you can destroy the paper. Keeping it permanently is also defensible, as long as it isn't sitting next to your laptop in a coffee shop.
The goal isn't a password nobody could guess. It's a password you can recall under pressure, at an airport gate, on the first try.
This is the part beginners skip, and it's the reason people get locked out.
Be realistic about one thing: with most dedicated managers, if you forget the master password and have no recovery method, nobody can restore your vault. Not you, not support. That's the encryption working as designed — and exactly why the checklist above exists.
Don't spend a weekend changing two hundred passwords. Start with the ones that cause the most damage if they leak: your main email first, because it's the reset route for everything else, then banking and payment accounts, then social media and shopping.
After that, work through the rest a few at a time. Most managers include a security report that flags weak, reused and breached passwords. Treat it as a to-do list for a rainy afternoon rather than a project.
Day one: install, set the master password, turn on two-factor authentication. Day two: move your email and one bank account, then test autofill. Day three: write the emergency kit and put it away. Days four through seven: change one or two reused passwords a day, starting with anything in the breach report.
By the end of the week the habit settles. You stop typing passwords and start letting the tool handle them, and the only one you need to hold in your head is the one you chose carefully and practiced.
Photo: indra projects / Pexels
Cold slows the chemistry inside lithium-ion cells, so your phone misreads its own charge and shuts down...
Budget active noise cancellation handles train rumble and bus drone surprisingly well, but comfort, call...
Cloud backup and external drives protect against different disasters. Here's how they compare on cost,...